Journey with Confidence RV GPS App RV Trip Planner RV LIFE Campground Reviews RV Maintenance Take a Speed Test Free 7 Day Trial ×


Reply
 
Thread Tools Display Modes
Old 12-09-2015, 04:19 PM   #1
Senior Member
 
ccamper's Avatar
 
Join Date: Dec 2015
Posts: 140
Love my a192HW

I am very happy to find this forum. I have read many of the threads, and found a lot of useful information, tips, and tricks. So, thank you to all who have posted. Here are a couple of pics of my new(ish), purchased back in April, A-frame.
Attached Thumbnails
Click image for larger version

Name:	20150425_103805.jpg
Views:	184
Size:	336.7 KB
ID:	95854   Click image for larger version

Name:	20150502_191600.jpg
Views:	188
Size:	316.8 KB
ID:	95855   Click image for larger version

Name:	20150502_191617.jpg
Views:	249
Size:	261.8 KB
ID:	95856  
ccamper is offline   Reply With Quote
Old 12-09-2015, 04:54 PM   #2
Member
 
chaviva7's Avatar
 
Join Date: Oct 2014
Posts: 57
We had the 194 HW. We loved it but went bigger with the 2016 214HW. Happy camping days to you.
chaviva7 is offline   Reply With Quote
Old 12-09-2015, 05:51 PM   #3
Senior Member
 
DanM-AZ's Avatar
 
Join Date: May 2015
Location: Phoenix, AZ
Posts: 144
Well that proves that you can do solar on the front slope even if you have the bubble windows! Can you give some details on your solar installation?
Thanks!
__________________
Dan

2012 Rockwood A128 (no S)
2016 Ram Power Wagon 6.4L Hemi 4x4
DanM-AZ is offline   Reply With Quote
Old 12-10-2015, 08:25 AM   #4
Senior Member
 
mudman2's Avatar
 
Join Date: Jan 2015
Location: S Florida
Posts: 294
That looks like 3m tape on the bubble Windows. Did it come from the factory like that?
__________________
2019 microlite 25bds
2015 tundra
mudman2 is offline   Reply With Quote
Old 12-10-2015, 08:49 AM   #5
Senior Member
 
ccamper's Avatar
 
Join Date: Dec 2015
Posts: 140
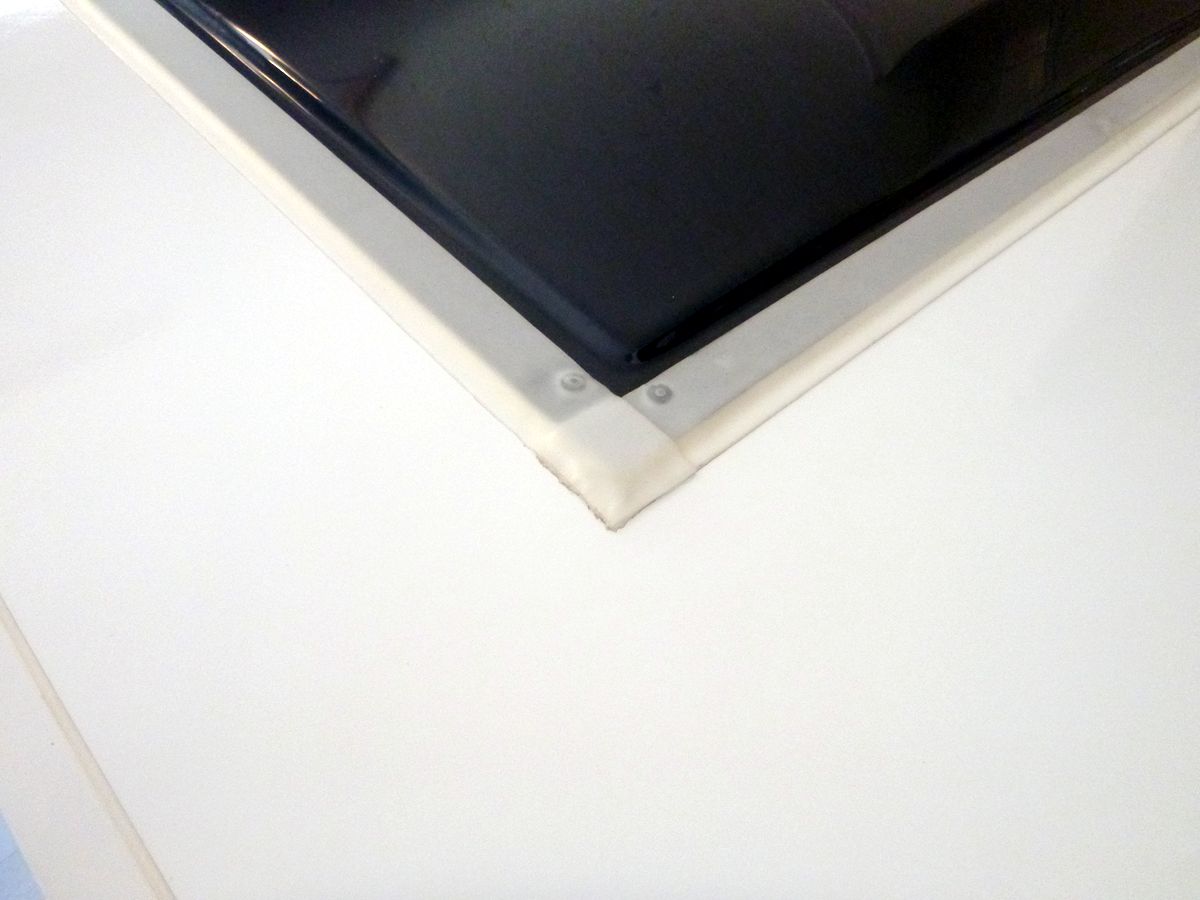
DanM, I mounted the panel there because I like concealed wires. The roof being a fiberglass/rigid insulation/metal sandwich, can't run wires within the ceiling. By mounting it here, I drilled through the roof, and the wires run along the inside if the roof hinge then down the front wall into the space below the dinette seat. I mounted the charge controller next to the inverter. Ran from inverter through existing hole in floor to battery. Was going to just tap battery at inverter, but this one doesnt have 12v lugs like older models. All circuit boards now. The panel itself is mounted on Z brackets. This gives about an inch of airspace beneath the panel. The brackets are mounted with stainless steel screws. I thought I would have to through bolt, but the screws bit and grabbed very tight. I sealed bracket screws and wire penetrations with black solar seal caulk. A roofing caulk. Its a renogy solar panel kit , (100 watt panel, 30amp charge controller, mounting hardware, and cables) bought off amazon for about $185.00. I camped in S. Dakota for a week using battery for lights, radio, propane for fridge and cooking. Battery never drained low fkr the whole trip. I have more install pics, but on my old phone. I will have to find them and post.
ccamper is offline   Reply With Quote
Old 12-10-2015, 08:53 AM   #6
Senior Member
 
ccamper's Avatar
 
Join Date: Dec 2015
Posts: 140
Mudman2, the bubble windows are the way they came from the factory. Not sure is 3m tape. I believe they are and then caulked around the perimeter.
ccamper is offline   Reply With Quote
Old 12-10-2015, 10:40 AM   #7
Senior Member
 
ccamper's Avatar
 
Join Date: Dec 2015
Posts: 140
Here is a straight on view of the solar panel. Also some pics of winter storage.
Attached Thumbnails
Click image for larger version

Name:	1449761889724.jpg
Views:	166
Size:	80.0 KB
ID:	95894   Click image for larger version

Name:	1449761976482.jpg
Views:	143
Size:	136.5 KB
ID:	95897   Click image for larger version

Name:	1449761998084.jpg
Views:	192
Size:	119.3 KB
ID:	95898   Click image for larger version

Name:	1449762021384.jpg
Views:	142
Size:	106.3 KB
ID:	95899  
ccamper is offline   Reply With Quote
Old 12-10-2015, 01:52 PM   #8
Senior Member
 
DanM-AZ's Avatar
 
Join Date: May 2015
Location: Phoenix, AZ
Posts: 144
Thanks ccamper,
That looks and sounds like a pretty clean installation. I couldn't bring myself to penetrate the roof panel.

If the bubble window installation is factory stock, there may come a day when you need to apply the 3M Extreme Sealing tape. That will be complicated by the solar panel. You may need to remove the panel to apply the tape, then reinstall it.

Here is what a 3M tape installation looks like:

__________________
Dan

2012 Rockwood A128 (no S)
2016 Ram Power Wagon 6.4L Hemi 4x4
DanM-AZ is offline   Reply With Quote
Old 12-10-2015, 02:07 PM   #9
Senior Member
 
ccamper's Avatar
 
Join Date: Dec 2015
Posts: 140
Thank you, I did think about it during install. Lol. I remember telling myself that these windows will be a problem later on. I'll cross that path when I get there. I'm sure within the next year or two. But thank you again.

Are those factory rivots or screws in yhe corners under the tape? Mine doesn't have those.
ccamper is offline   Reply With Quote
Old 12-10-2015, 06:03 PM   #10
Senior Member
 
DanM-AZ's Avatar
 
Join Date: May 2015
Location: Phoenix, AZ
Posts: 144
Yeah those are factory screws. Mine is an older model, 2012 model year, built in 2011. That's the rear window. Mine doesn't have front bubble windows. Build details may have changed since mine was built.
__________________
Dan

2012 Rockwood A128 (no S)
2016 Ram Power Wagon 6.4L Hemi 4x4
DanM-AZ is offline   Reply With Quote
Reply


Posting Rules
You may not post new threads
You may not post replies
You may not post attachments
You may not edit your posts

BB code is On
Smilies are On
[IMG] code is On
HTML code is Off
Trackbacks are Off
Pingbacks are Off
Refbacks are Off


» Featured Campgrounds

Reviews provided by

Disclaimer:

This website is not affiliated with or endorsed by Forest River, Inc. or any of its affiliates. This is an independent, unofficial site.


All times are GMT -5. The time now is 01:50 PM.