 |
 04-09-2011, 04:47 PM
|
#2
|
|
Senior Member
Join Date: Aug 2010
Location: Manitoba
Posts: 1,283
|
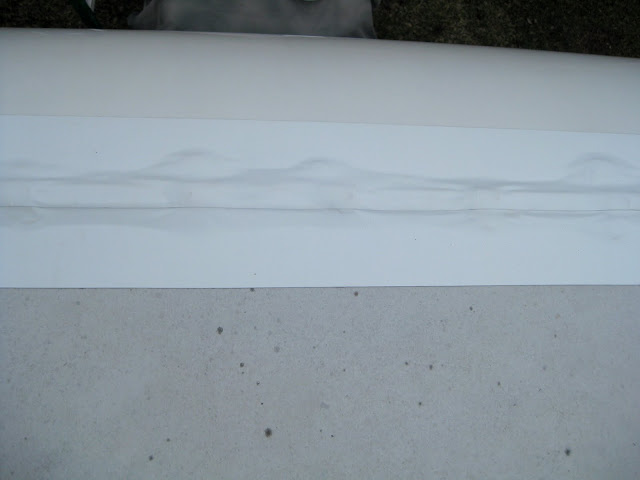
I agree it doesn't leave the prettiest appearance, but I sure feel a lot better about having it up there.
It was especially tough doing it to a brand new camper, but I figured, what better time would there be?
If it performs as advertised, I will be very pleased.
I have heard some complaints about the white backing peeling off or edges curling up, but it really is not supposed to do that. Time will tell.
|

|

|
|
04-09-2011, 04:52 PM
|
#3
|
|
Junior Member
Join Date: Sep 2010
Posts: 29
|
Yes, we feel better knowing it's there. We've heard conflicting stories that we need to put this on top of the tape now? Even the eternabond information contradicts itself.
|
|
|
|
|
04-09-2011, 04:56 PM
|
#4
|
|
Senior Member
Join Date: Aug 2010
Location: Manitoba
Posts: 1,283
|
If you used the Roofseal Plus tape, it has its own UV protection. Nothing goes over it. It looks like that is what you used, with the white backing.
|
|
|
|
|
04-09-2011, 05:05 PM
|
#5
|
|
Junior Member
Join Date: Sep 2010
Posts: 29
|
I (we) used the regular eternabond roof seal tape and the instructions said "....Our specialized backing has proven to be UV stable, even after 19 years in full sunlight." Whoops, I answered my own question...the liquid sealant is for their "webseal tape" They have many products apparently. Thanks for the input all!
|
|
|
|
|
04-09-2011, 05:31 PM
|
#6
|
|
Senior Member
Join Date: Jul 2008
Location: baltimore,md
Posts: 405
|
i used the tape over all the caulk on the roof of my 8315SS.I put it on last year after finding a leak in the skylite.. now,after finding a brown leak stain in the rear storage compartment this year,i thought i had to search again for the source of the leak.....after removing some of the screws in the rail that holds the roof covering down,i discovered that water was seeping in through 1 screw hole.. looks like when the gutter was clogged with pine needles over the winter,water would lay in the gutter and up to the level of the rubber seal,hence finding the only screw that was open enough for it to seep into.now,my next job is to pull all the screws out and put a sealer in all the screw holes ! thank God for power screw drivers.
|
|
|
|
|
04-09-2011, 06:34 PM
|
#7
|
|
Senior Member
Join Date: Feb 2011
Location: Phoenix AZ
Posts: 926
|
I am considering doing the same thing. How did you remove the old caulk in preparation?
__________________

Glenn & Beth (Dad & Mom)
David & Audra (16 year old twins)
2006 Dodge Power Wagon (Adventure & Tow Vehicle)
2006 Rockwood 8281SS (Home away from Home)
|
|
|
|
|
04-09-2011, 07:53 PM
|
#8
|
|
Senior Member
Join Date: Feb 2010
Location: Colorado
Posts: 181
|
I just finished doing my rig. Just in time too as I found several areas in which the dicor had shrunk and was leaving holes around things.
I did not remove old caulking, but cleaned it throughly, so much so it was sticky again. Applied the tape over it. Looks like every thing sealed well. I left an ample amount of tape around all areas. I used the 8" width and just cut where needed.
Indeed a time consuming job, but feel it will last a long time.
__________________
Walt-N-Terry Sanford 
03 Dodge Ram 2500 Diesel
08 Rockwood 8317
|
|
|
|
|
04-09-2011, 08:28 PM
|
#9
|
|
Senior Member
Join Date: Aug 2010
Location: Manitoba
Posts: 1,283
|
On an older camper, I would leave the existing caulk in place as long as it was in decent shape. If you don't have any leaks, it is still doing its job.
Clean it well, as Koodog said, and do allow a good overlap as he also suggested.
Putting the Eternabond over the existing sealant provides a double seal, and should pretty much guarantee no leaks.
|
|
|
|
|
 Posting Rules
|
You may not post new threads
You may not post replies
You may not post attachments
You may not edit your posts
HTML code is Off
|
|
|
|
 » Recent Discussions
 |
|
|
|
|
|
|
|
|
|
|
|
|
|
|
|
|
|
|
|
|
|
|
|
|
|
|
|
|
|
|
|
|
|


 Linear Mode

